
type
Post
status
Published
date
Jul 1, 2026
slug
summary
tags
category
Projects
icon
password
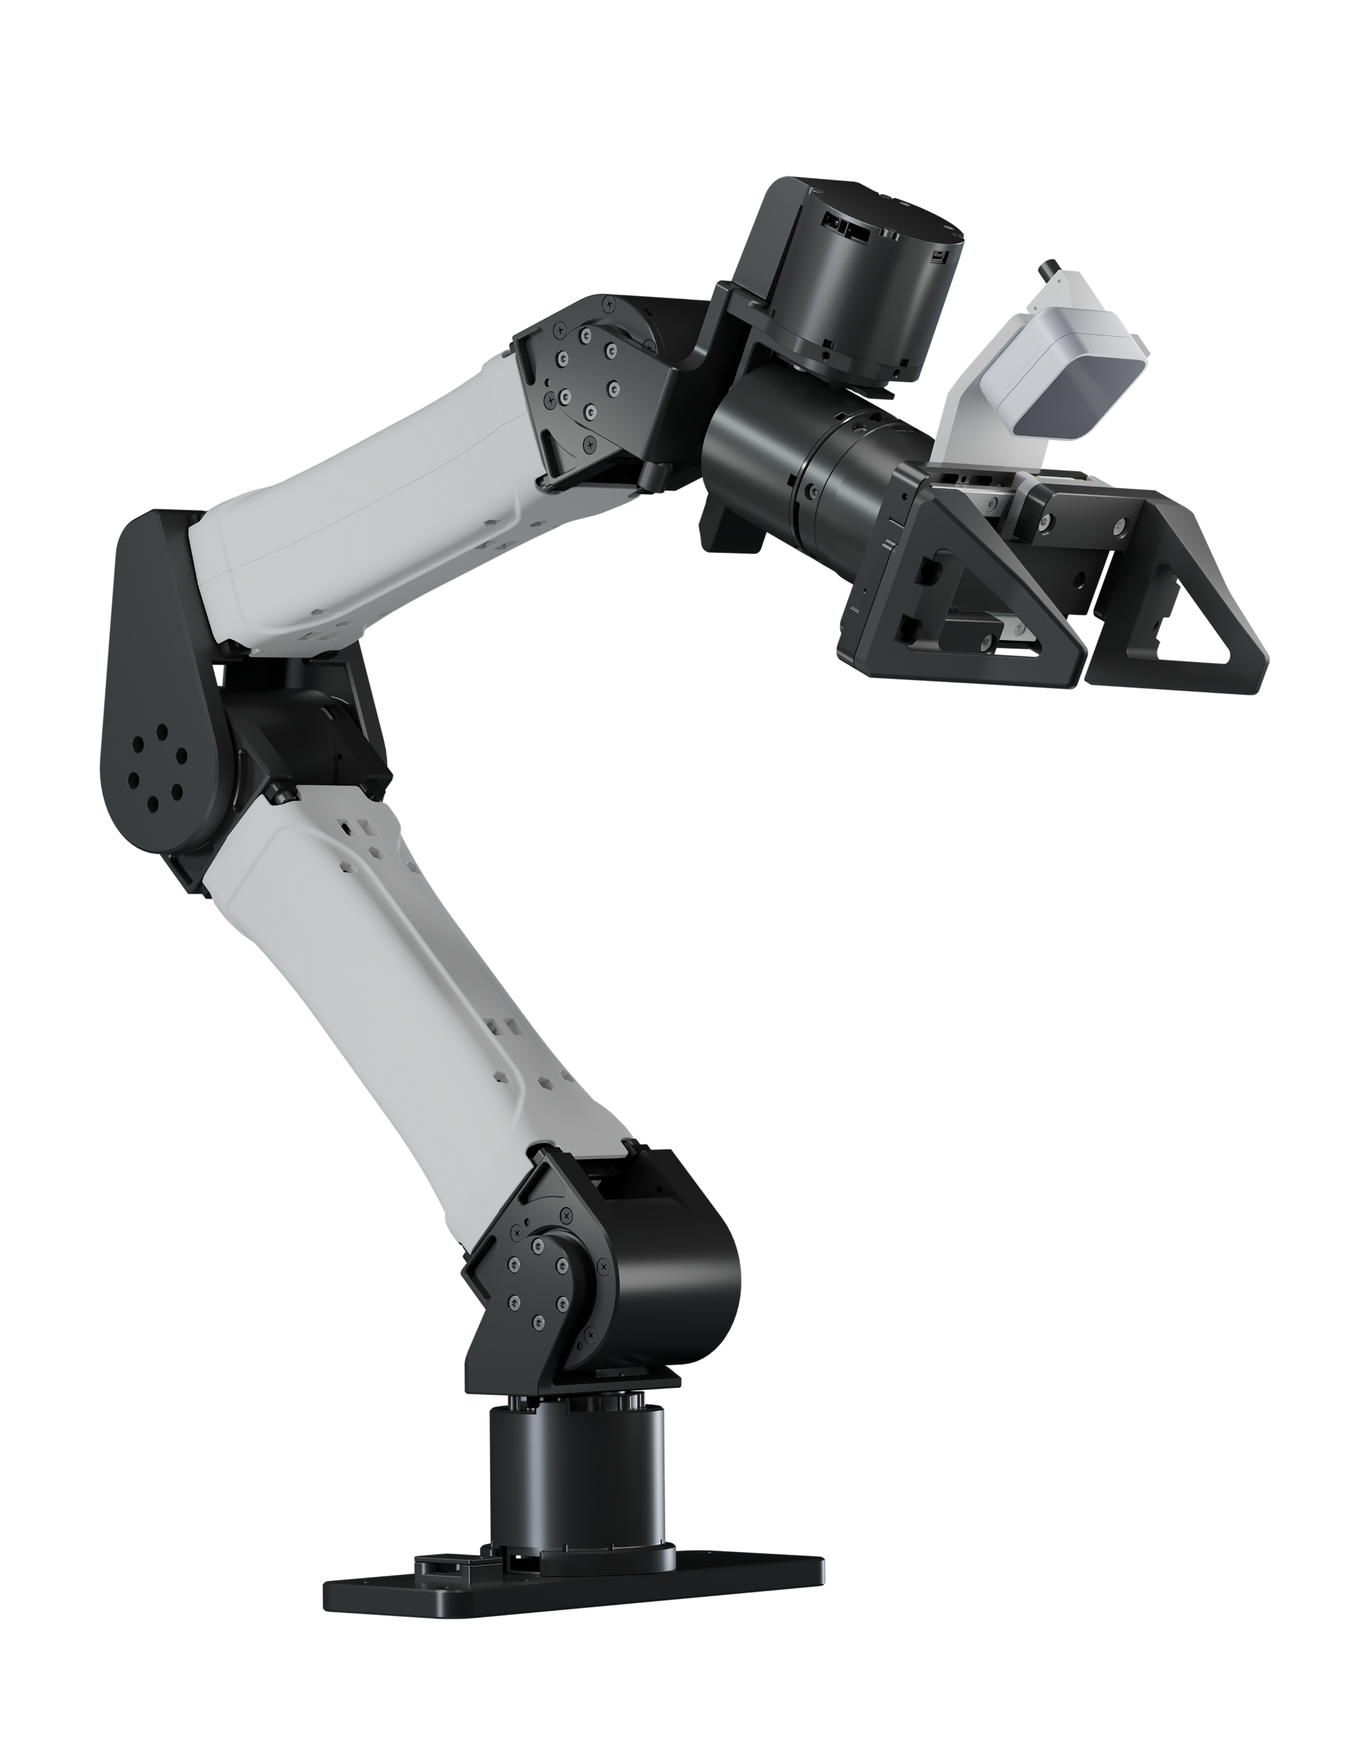
FreeMani takes you through the full robot-learning loop on a YAM arm station from one web GUI.
— collect demonstrations → train a policy → run it on the arms
Every command runs from the project folder with the environment active:
Install
Then check the submodules downloaded cleanly:
If a line starts with +, run
git submodule update --init --recursive again.Quickstart
Start a Session
- Power on the arms, leaders, and cameras.
- Launch the GUI:
3. Open
http://localhost:8042 in a browser.The Collect tab opens by default and camera previews go live automatically.

Collect Tab
- Station config
robot type,gripper typecontroller typecamera type,serial
after editing the config, click
Preview to preview three view videos- Can bus setup
CAN buses are brought up for you when you press
Start Teleop. If an arm is unresponsive, click Reset CAN and try again.- Calibrate the leader arms (when needed)
- In the GUI: click
Zero L(left leader) /Zero R(right leader), and confirm; or - From a terminal:
- Check a joint's direction (optional)
Do this the first time, or whenever a leader was moved/re-seated, or an arm tracks the wrong way.
1. Set the home zero
hold the leader arm in the pose you want to map to the follower's home, then either:
to see live readings while you wiggle each joint:
If a follower joint moves the opposite way to the leader during teleop, flip that joint's sign in
configs/station_yam.yaml(leader_joint_signs) and restart teleop.Collect Data
- In the
Stationpanel (left), set theTaskname (e.g.put the bottle in the bin).
- Click
Start Teleop. The followers ease to the leaders' pose, then track them.
- Use the teaching-handle buttons or the on-screen buttons:
Top button= sync on/off (follower mirrors the leader).Second button= start/stop recording an episode.
- Perform the task, stop recording. Repeat for as many episodes as you need. The
Episodescounter shows how many are saved for the current task.
- Press
E-STOPat any time to stop all motion immediately. To resume after an E-STOP, clickStart Teleopagain.
Episodes are saved under
data/episodes/<task>/.Review the data

- Open the
Reviewtab and refresh.
- Pick an episode to see its camera videos and the joint/gripper curves.
- Delete any bad episodes so they aren't used for training.
Train a policy

- Environment Setup & Prepare pre-train checkpoints
details refer to  GitHubGitHub - Hatty-z/openpi at c144147d64b7727a519d429f28799056eecbc3d3
 GitHub
 GitHub
 GitHub
GitHubGitHub - Hatty-z/openpi at c144147d64b7727a519d429f28799056eecbc3d3GitHub - Hatty-z/openpi at c144147d64b7727a519d429f28799056eecbc3d3
Contribute to Hatty-z/openpi development by creating an account on GitHub.
GitHubGitHubGitHub - Hatty-z/molmoact2 at f266b758cbe64ef8cec74b7befb42c22749c8b84GitHub - Hatty-z/molmoact2 at f266b758cbe64ef8cec74b7befb42c22749c8b84
Contribute to Hatty-z/molmoact2 development by creating an account on GitHub.
GitHubGitHubGitHub - Hatty-z/abc at 8619cdf42b59cb8ec726ea2af0b929789f7bfa5cGitHub - Hatty-z/abc at 8619cdf42b59cb8ec726ea2af0b929789f7bfa5c
Contribute to Hatty-z/abc development by creating an account on GitHub.
GitHub- Prepare Dataset
- For pi0/pi0.5/molmoact2:
- For ABC:
- Start training in the Train tab:
- Choose the
backend(`pi0`,`pi05`, `molmoact2`, or `abc`). - Fill in the fields:
run name— a label for this run.dataset / task— the converted dataset-namesteps,batch / GPU,GPUs— change as you want.base checkpoint / pretrained ckpt (optional)— path to a checkpoint to fine-tune from. Leave blank to train from scratch.
- Click
Start. Watch the live loss curve; logs stream in the panel.
Checkpoints are written under the backend's output directory (shown in the logs).
Examples for training config:
Deploy / run a rollout

Deployment uses two machines: the robot host (this GUI) and a GPU box that runs the policy server.
- On the GPU box, start the server for your backend (see
docs/deploy.mdfor the exact per-backend command), e.g. ABC:
- On the robot host, in the Deploy tab:
- Enter the server
host,port, and the taskprompt. - Click
Start. The arms ease to a start pose, then the policy drives them. - Keep a hand near
E-STOPfor the first rollouts of any new checkpoint.
You can also run a rollout from the terminal:
- 作者:Hatty
- 链接:https://notion-next-ochre-one-47.vercel.app//article/39b58186-cead-808c-a33c-d42487387f8d
- 声明:本文采用 CC BY-NC-SA 4.0 许可协议,转载请注明出处。

